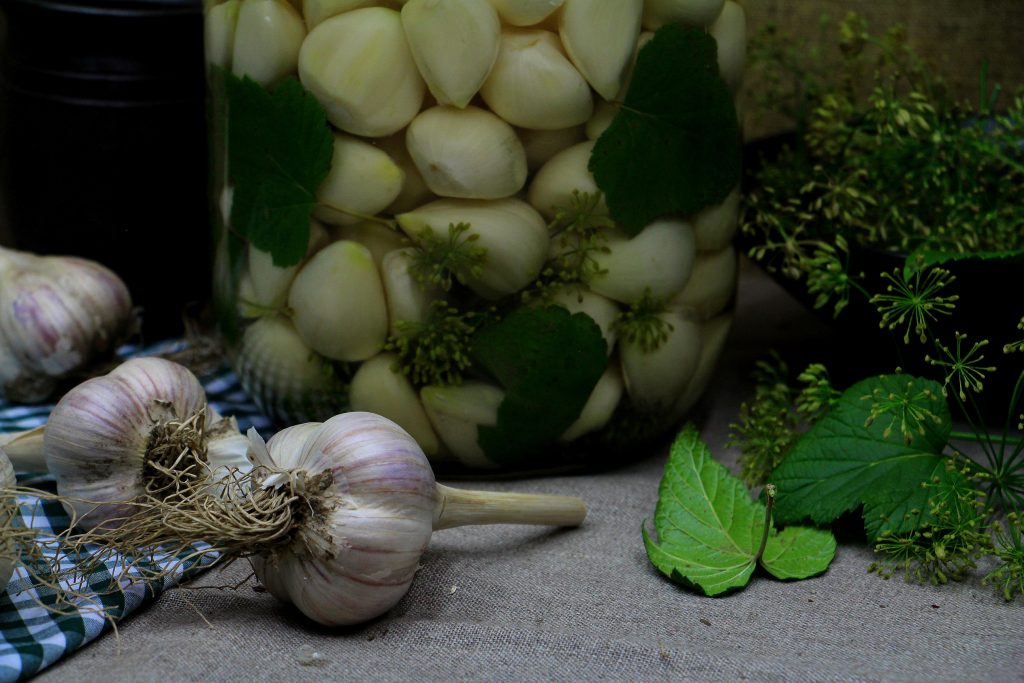
Fermented Garlic Recipe
We will need to eat a lot of garlic in the coming months of winter misery. A few cloves of it help like nothing else to combat dank mood and cold body aches. And is there anything better than raw Fermented Garlic to accompany your winter stews? No. So, we have to make a lot of it.
Ingredients:
- 1 kg fresh garlic from farmer’s market
- whole black pepper
- few fresh dill flower heads
- few black currant leaves (or horseradish leaf)
- 1L water
- 2 Tbsp salt (34g)
- 50 ml apple cider vinegar
- Bring water to a boiling point. Add salt and vinegar. Remove from hit and let it cool down to a room temperature.
- Break garlic heads and peel cloves. This is the most time consuming part of the process. There are ways to speed it up like keeping the garlic in boiling water for a few seconds, but to make the healthiest and the tastiest and crunchiest fermented garlic you better keep it raw. I think it is a good chance to engage your family and to have a good time together, passing down a tradition.
- Soak your garlic in a cold water for an hour, drain and rinse.
- Put few peppercorns, couple of dill flower heads, 4-5 black currant leaves and the garlic cloves in a clean jar (this amount of garlic will fit into 2L jar) and fill it with the brine so all is completely covered. Close the jar and keep it at a room temperature for 2 weeks. If you are using a small crock, you may simply leave it on a counter, but, if you are using a jar, place it somewhere in a dark place – fermenting doesn’t like light.
- After 2 weeks of fermenting at a room temperature, place your garlic in a fridge or in a cold room. The longer it stores, the better it tastes!
Garlic fermentation goes slowly. It will be ready to eat in at least a month. You may use fermented garlic instead of a fresh one in any winter/fall soup or stew recipe that calls for it and a dish would only benefit.
